Local Storage seems to be disabled in your browser.
For the best experience on our site, be sure to turn on Local Storage in your browser.


Celebrate the meaning of Easter symbols and make a colourful mobile. If you're not sure about shaping and cutting wire then ask pupils to bring in a coat hanger.


Take a sheet of coloured card and fold it in half so that it is doubled up. On one side draw your shape (a rabbit, egg, chick or cross) and once you're happy cut out your shape through both layers of card. You should now have two identical shapes. Repeat this method until you have a collection of paper eggs, chicks and rabbits.


Using off-cuts of card cut out smaller shapes to decorate your card with. Try features like eyes, noses, beaks, tails or toes to stick on to your chicks and rabbits; or symbolic shapes for an egg or cross. Attach these shapes using a small dot of PVA.


Felt pens, colouring pencils, paint and glitter can all be used at this stage to add some smaller details or sparkling decoration. Metallic paint or shiny sequins will catch the light and reflect magical patterns when the mobiles spin. Make sure you make them as eye-catching and colourful as possible.


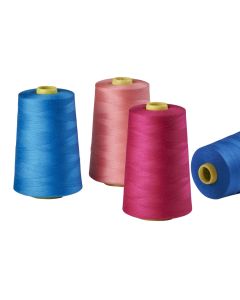
You now need to attach the shapes to the cotton thread. Cut at least three lengths of thread. Pair up each shape and on the back of one of the shapes spread some PVA glue. Place the cotton thread end on top of the glue in the middle. Carefully line up and press the other matching shape plain side down onto the glue. Repeat this method by sticking your shapes randomly along the cotton thread. Carry on doing this with each length of cotton.


Next, we need to attach all the pieces of cotton thread on to the coat hanger bar by knotting the loose end of the thread to the bar. As you knot each one make sure they're evenly spaced out so each card shape has plenty of room to hang free and spin.
Tip!
You could make the mobile even more impressive by repeating the steps above and fixing the two hangers together at right angles to each other.



 Free Delivery Over £40
 Meet The Experts
 Trusted Quality
 Education Rewards Club
 Creative Corner