Local Storage seems to be disabled in your browser.
For the best experience on our site, be sure to turn on Local Storage in your browser.


Struggling with graphics focused lesson plans?
We've got you covered with our latest guide, How To Create a Technical Perspective Skyline.
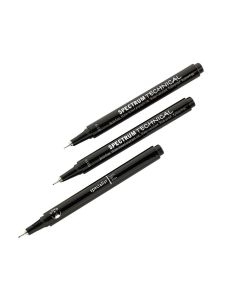
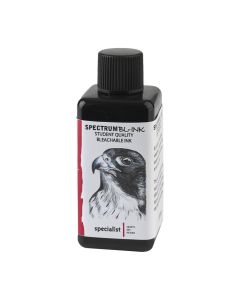
In this guide, various techniques will be applied using a variety of items including technical pens, bl-ink and more!


Firstly, draw a horizontal line across your paper, this will represent the skyline. Then mark out two vanishing points on this line. Draw a line vertically in the centre of these points (approx. 12cm) and join all of these up to create a diamond shape.


Next, from your vanishing points, you can draw in some roads. Draw two lines in a 'V' shape down to the bottom of the page. You ideally want to make your drawing look symmetrical on both sides if you can.


Now you have your basic structure, you can start to build up your skyline. From your centre diamond, draw two horizontal lines to create your first building. From here, you can add in some horizontal roads using your left and right vanishing points as an angle guide.


Where your roads cross over, you can add in bridges to create depth in your piece. These can either be kept as roads or turned into a canal. Add in further lines under the bridge to create pavements and walls, leading from the vanishing points.


Next, you can start to draw up the buildings in the centre. To do this, each building will have a vertical line, and then from this, use the left vanishing point to create the left-hand side of the building, and the right vanishing point to create the right-hand side of the building. Make the vertical line taller to create a building with a bigger surface area.


When you are happy with the centre skyline, you can build up the sides of your perspective. This time, however, you will only need to use the vanishing point closest to the side you are drawing to give a narrower perspective looking down a street. Create indented windows to add further depth to your design.


You can now go over your outlines using technical pens and rubbing out your guidelines to reveal your buildings in full.


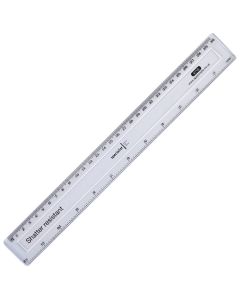
Next comes the start of finer details! Create your windows and pavements using your ruler still to create grids and rectangles, varying the size of nib you use. We suggest using the finest nib for your windows and the thickest for your outlines.


Using the colour permanent markers, add in details such as trees and water. But remember your size perspective the further up the street you get! Using a fine nib pen, add some shading to your windows to create a glass effect of reflections.


Add shadows to your design by using
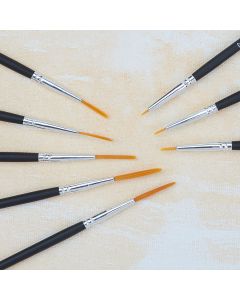
Bl-Ink ink and a liner brush. You need to decide which angle the sun will be shining down on your skyline to determine the angle and area of your shadows.


For the final step, you can create lighter shadows by adding a bit of water to the ink with your brush. Add in some people, cars and road markings to give some life to your skyline.
Tip!
Get the class involved with this great legend and ask them to bring in a jam jar each so they can create their own Salmon of Knowledge scene!


 Free Delivery Over £40
 Meet The Experts
 Trusted Quality
 Education Rewards Club
 Creative Corner