Local Storage seems to be disabled in your browser.
For the best experience on our site, be sure to turn on Local Storage in your browser.


 Free Delivery Over £40
 Meet The Experts
 98% Stock Availability*
 Education Rewards Club
 Creative Corner

Have you ever wanted to create your own handmade Christmas wreath? well, now you can with our simple how to guide. Get into the festive spirit today!

-

-
-
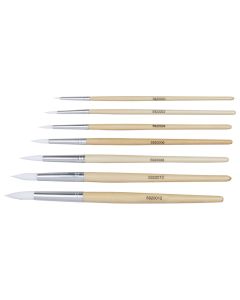 Specialist Crafts Student Round Synthetic Short Handled BrushesAs low as £0.49 £0.59
 -

-


Prepare your workspace, and mark out your wreath shape using a template or a compass. We used an A3 piece of card as a sizing guide.

Carefully cut out your wreath and centre so you are left with a doughnut shape. Select the colours of tissue paper you wish to use. TIP: It is easier if the paper is already pre-cut into circles.

To make the wreath 3-D, grab a piece of tissue paper and gently pinch the middle together using your fingers and twist to create a rose petal shape. This should stay in place easily.

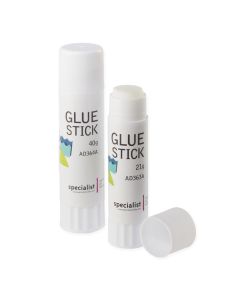
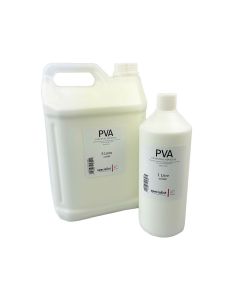
You can glue the stem down onto your card base using PVA glue or a glue stick. We recommend using PVA glue for a strong hold.

Repeat steps 3 & 4 until you are happy with the coverage of your base. You shouldn't be able to see any gaps! TIP: Use gradients of colour to add depth to your wreath.

When your wreath is full, you can gently open up some of the petal shapes to give it more volume. Add decoration using pom-poms and secure with more PVA glue. (This will dry clear).

Use a thin brush to apply metallic paint to some of the edges of your wreath to make it shimmer in the light. You could even add sequins and embellishments!

Once happy with your decoration, carefully secure a piece of ribbon to the back of the card so it can be hung. Allow your wreath to dry completely before hanging it up.
