Local Storage seems to be disabled in your browser.
For the best experience on our site, be sure to turn on Local Storage in your browser.


 Free Delivery Over £40
 Meet The Experts
 98% Stock Availability*
 Education Rewards Club
 Creative Corner

Follow this guide to create your very own acrylic ink piece by applying various techniques using Specialist Craft's Artist Acrylic Inks and more.
Choose from a range of 12 colours available in 30ml and 100ml bottles, all supplied by Dryad Education!

-
-
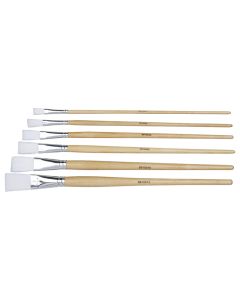 Specialist Crafts Student Flat Synthetic Long Handled BrushesAs low as £0.89 £1.07
 -
-
-
-


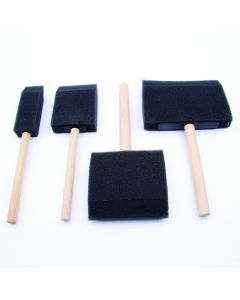
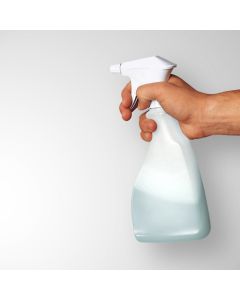
Wet your foam brush and dip it into your ink and apply a wash over parts of your canvas. Spray a small amount of water on top of your wash to leave speckled marks in the ink. You can also mix ink and water in a spray bottle to add more colour to your design.

Place strips of masking tape on the canvas and apply a wash over this section. This will isolate the area from any further techniques you use.

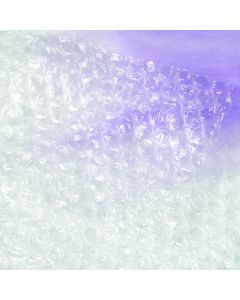
Using a paintbrush, paint over some bubble wrap or textured surface and press this down onto the canvas. You can build this up over different areas and mix colours to create varying effects.

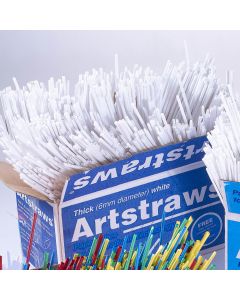
Use a straw or hairdryer to blow large ink drops around the canvas to create abstract lines and blended colour.

Draw out some shapes onto a piece of card and cut these out. Next, stick them onto the canvas with masking tape. Apply more ink drops to the canvas and experiment using different colours.

Carefully dip your string into the ink bottle, holding onto the knot. Place down loosely onto the canvas into a wavy shape with the knot angled towards you.

Gently press a piece of paper on top of the string and slowly pull the knot down vertically to reveal a flower/stem shape.

You can add additional effects by rolling over string or zips under a piece of card using an ink roller.

Add finer details using thinner string or cord. Allow your canvas to dry and your artwork is complete!
